Empathia now integrates with Vim Connect, a secure overlay that enhances provider workflows directly within their EMR. You may have already come across VIM on EMRs like -
- Athenahealth
- eClinicalWorks (eCW)
- Elation
- Practice Fusion
This guide outlines the practice-level (group) process to integrate Empathia AI into your EMR.
(To learn how individual providers can connect integrate Empathia AI with their EMRs using VIM, take a look at our article here).
Step 1: Collecting Practice Information
Before the onboarding begins, we need to collect key information from your clinic. Please email us at support@empathia.ai with the following details -
Clinic Details
Clinic name (required)
EHR web address URL (required) ---See detailed steps on how to find URL link at the FAQ section.
Clinic address (recommended)
Tax Identification Number (TIN) (recommended)
Champion (Practice Lead) Details
Full name (required)
Email address (required)
EHR username (required)
Step 2: Schedule the implementation call with your clinic Champion, clinic’s IT and VIM
Booking link: https://calendly.com/d/csdt-tmq-3py/vim-implementation
Step 3: Account Creation in Vim Console
Vim will create the clinic’s Console account using the details collected during Step 1. The clinic group admin or account owner can manage their users' access to the application using the VIM console
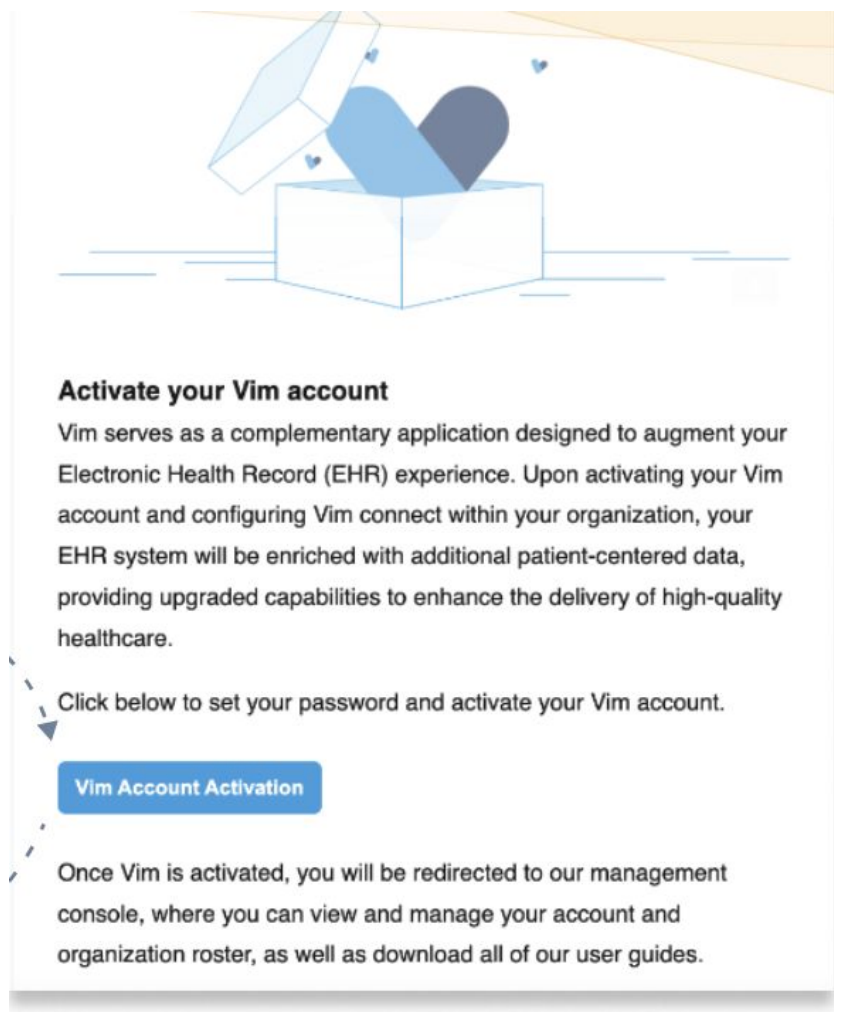
Step 4: Account Activation
Activation occurs during the implementation call:
Vim sends an activation email from connect@getvim.com.
The clinic group admin clicks “Vim Account Activation” to set their password and log in.
The account is confirmed and activated.
Once activated, the clinic group admin gains access to the Vim Admin Console for user and app management.
Step 5: Installation & Deployment
During the implementation call, Vim assists the clinic in
- Installing Vim Connect via MSI (Windows) or Chrome extension (Mac).
- Testing the application
Step 6: User Management via Vim Admin Console
Once activated, the clinic group admin or champion can:
Add and remove users directly in the Console.
Enable auto-create for onboarding new users.
Enable seamless sign-in for password-free access.
Manage app permissions for each user.
Step 7: Go-Live & Support
Once installation and access are complete:
The app launches to all designated users.
Empathia and Vim confirm successful connectivity during the implementation call.
Schedule training as needed to ensure staff are comfortable using Empathia in their EHR.
If your clinic is already live with VIM, you can request access to Empathia AI from VIM's marketplace in 2 ways -
1. Vim Connect end users can request the application directly from Vim’s Marketplace in their EMR
2. Practice account owners/admins can request access via Vim’s Console Marketplace.
FAQ
How to Find EMR/EHR URL Link?
1. No URL needed for Practice Fushion or Elation
2. Athena
- Copy the entire URL from the browser after the user has logged in.
- That URL is unique to your practice and has a unique numeric identifier (typically 5 digits)
3. eCW URL:
1.Right click on the eCW plugin icon on your desktop
2.Click on "properties"
3.Copy everything in the "Target" section (see screenshot attached)
Please reach out to us at support@empathia.ai with any questions or requests for this integration.
Was this article helpful?
That’s Great!
Thank you for your feedback
Sorry! We couldn't be helpful
Thank you for your feedback
Feedback sent
We appreciate your effort and will try to fix the article